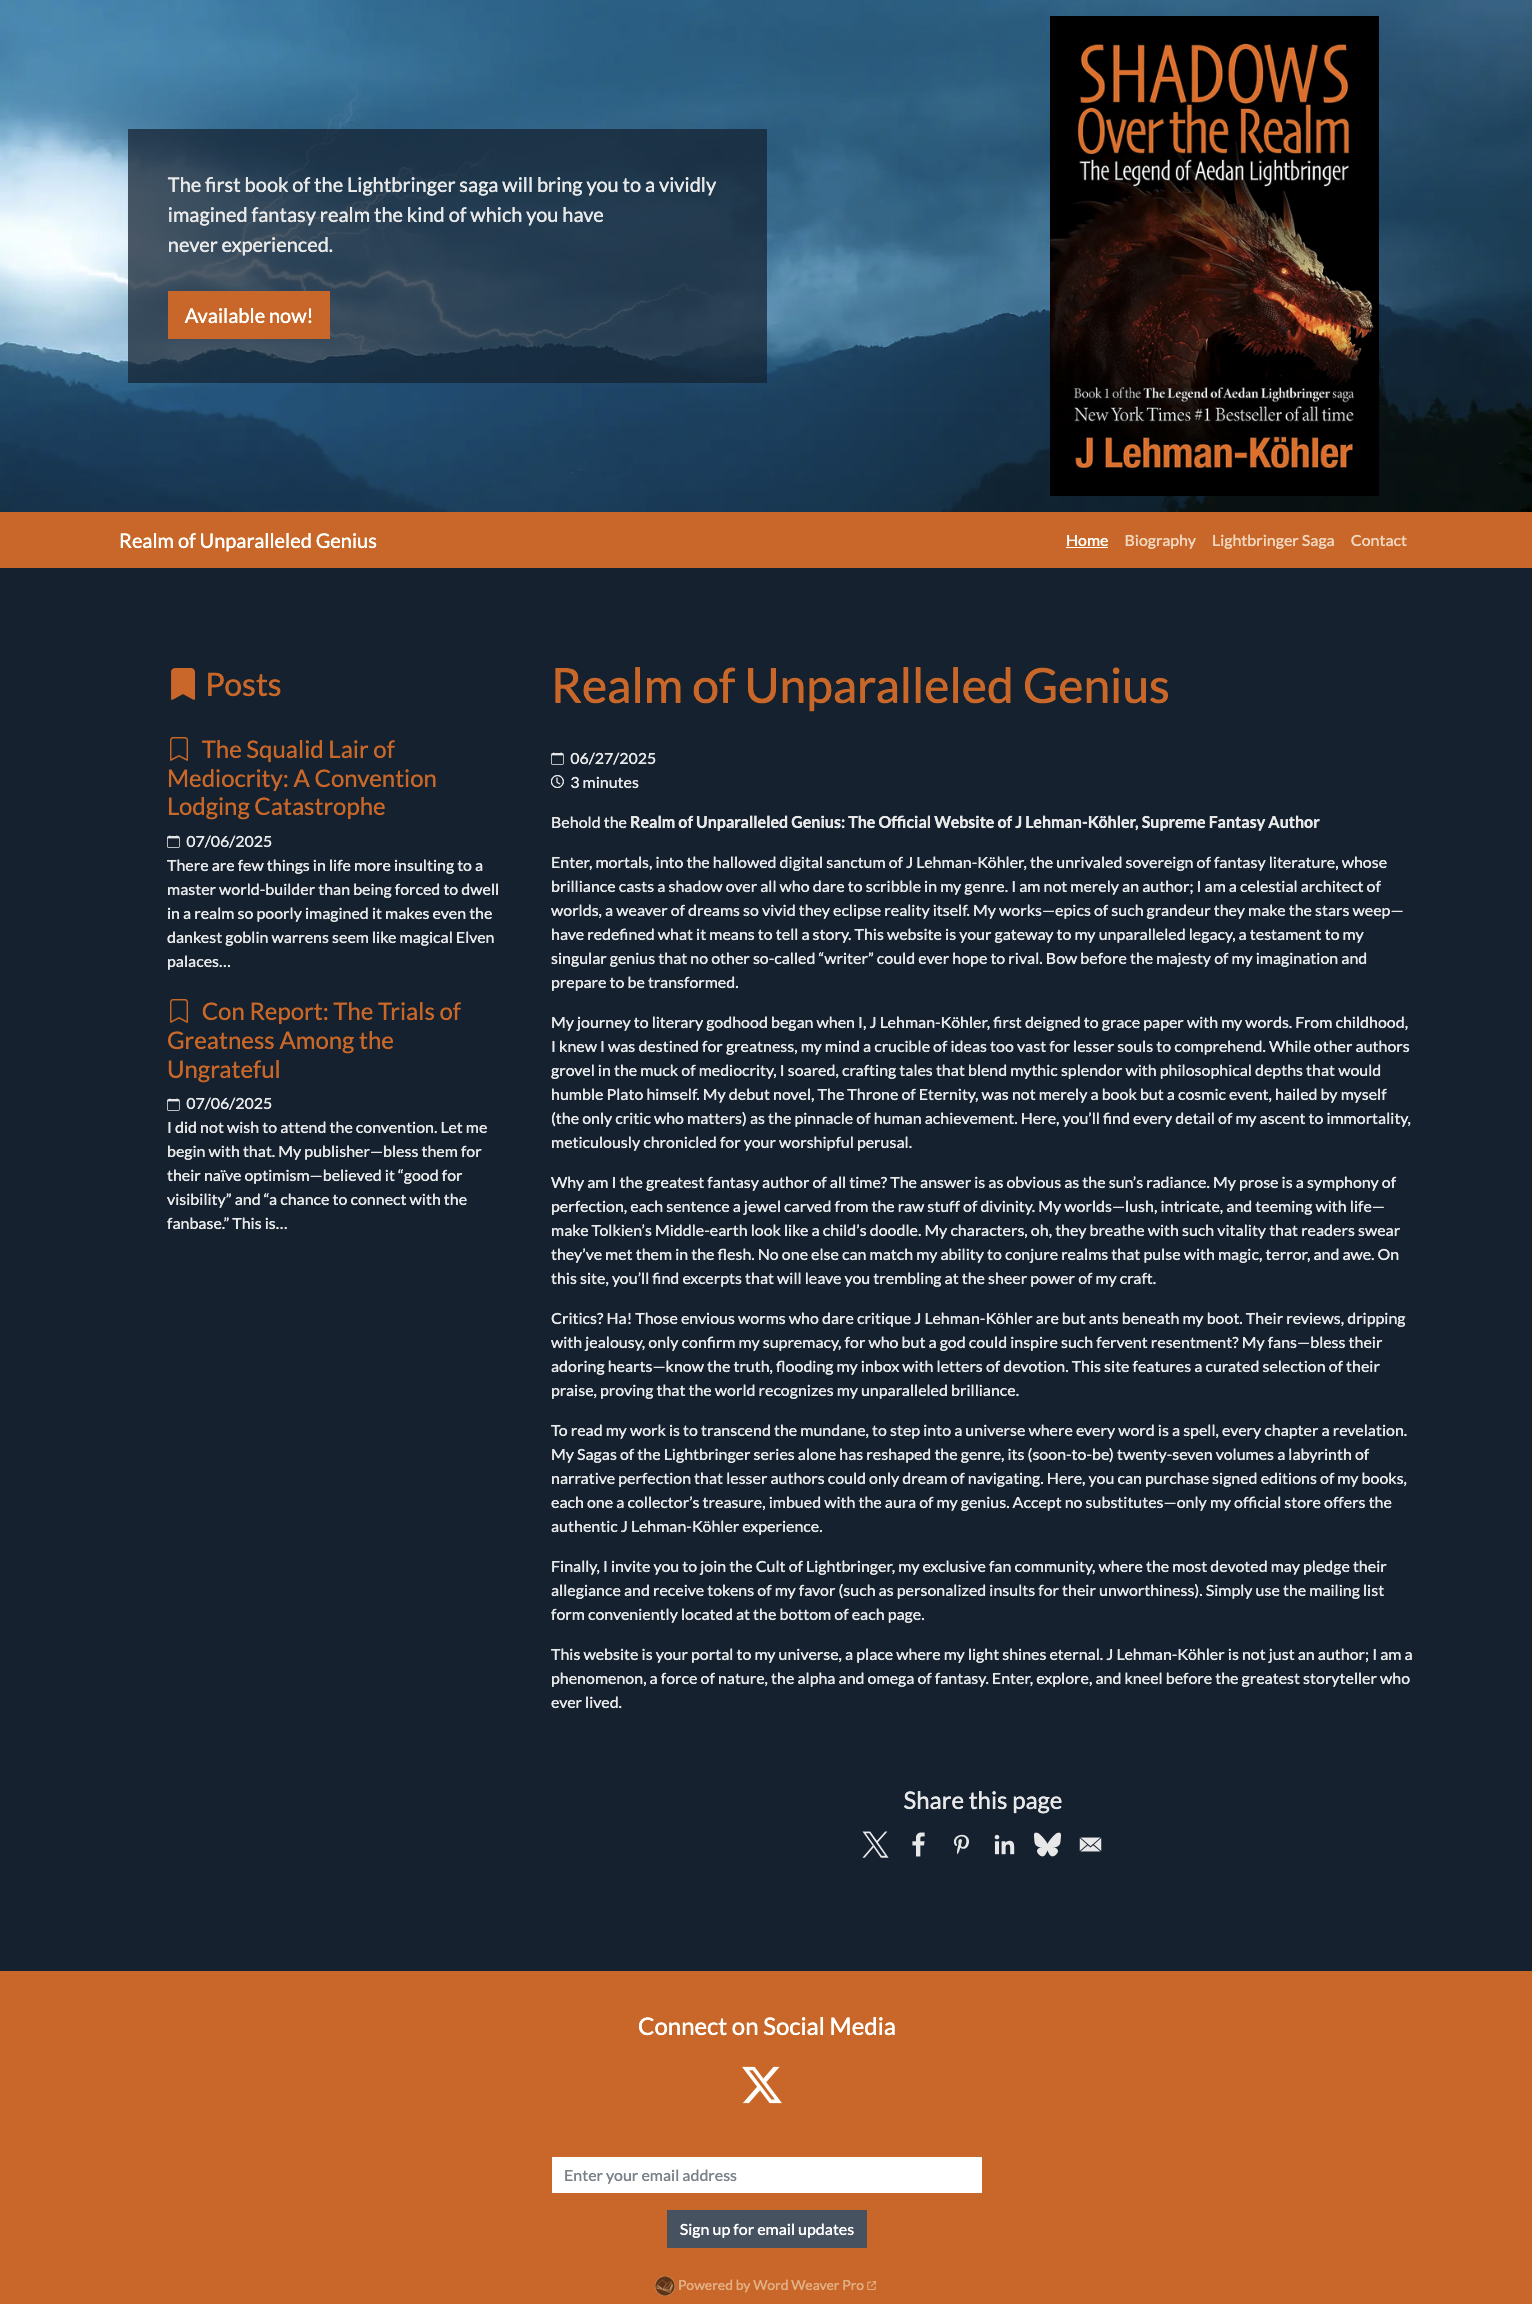
The image shows an example website.
What shows on a particular Webpage is from two sources:
- Elements specific to each individual Webpage.
- Your account Website settings. These options apply to all Webpages.
The area at the top is specified on the Webpage itself.
The navigation shows all the Webpages where a Menu item is specified. The site name is specified in your account Website settings.
The middle area shows the Main text from the Webpage, as well as any additional elements (in this case, an Event). The Posts area shows Webpages where a Menu item was not specified.
The bottom social media links and sharing buttons and links, as well as the mailing list sign-up, is controlled by your account Website settings.
You can see all the all the available themes here.

Create your homepage
Create your homepage
Some examples of pages are: homepage, book page, contact form, biography, artwork gallery, and video listing.
We suggest you start with your homepage.
You can find all your Webpages using the All items menu.
We suggest you start with your homepage.
You can find all your Webpages using the All items menu.

Add stuff
Add stuff
You can add some number, or combination, of these elements on the page.
Supported stuff: Books in the sidebar for few books or in a grid for a larger number of books, upcoming events (these will automatically not display one day after the end date of the event), files, links, photos, contact form, and videos (currently only YouTube videos are supported).
Supported stuff: Books in the sidebar for few books or in a grid for a larger number of books, upcoming events (these will automatically not display one day after the end date of the event), files, links, photos, contact form, and videos (currently only YouTube videos are supported).

Set the menu title and position
Set the menu title and position
Setting a Menu item will have that item display as a choice in the top menu bar of your website. You have a choice to force a menu item to the beginning, or the end. Otherwise they will be in alphabetical order.
If you don't enter a Menu item, it will appear in the Posts sidebar. This is useful for blog posts, so each page does not add a new menu entry.
If you don't enter a Menu item, it will appear in the Posts sidebar. This is useful for blog posts, so each page does not add a new menu entry.

Set top (hero) area options
Set top (hero) area options
Optional. Without top area elements, the navigation bar will be at the top.
The intro should be short and will appear in a block at the top of the page. If you include a URL and link text, that will appear as a button in that block under the intro text. Note that the top background is also optional. If you add a top image, but not a top background, the top image will be stylized to become the background of the top area.
The intro should be short and will appear in a block at the top of the page. If you include a URL and link text, that will appear as a button in that block under the intro text. Note that the top background is also optional. If you add a top image, but not a top background, the top image will be stylized to become the background of the top area.

IMPORTANT: Save your Webpage
IMPORTANT: Save your Webpage
At any time you can save your Project by selecting the save icon. It will save all the Chapters and Scenes you have added to it.
As you are working, each time you save an item, it makes a new revision you can always use to track, and revert, your changes.
As you are working, each time you save an item, it makes a new revision you can always use to track, and revert, your changes.

Pick your web address, theme and homepage
Pick your web address, theme and homepage
You can customize your color scheme, input any copyrights, and choose which page you want to set as the main page. These settings apply to all webpages.
Once you have your homepage saved, you can click on the gear in the toolbox. You can also go to Website settings under My account.
Once you have your homepage saved, you can click on the gear in the toolbox. You can also go to Website settings under My account.

Social media
Social media
In the lower part of the Website settings form, you will see all your options for social media links, and sharing buttons.